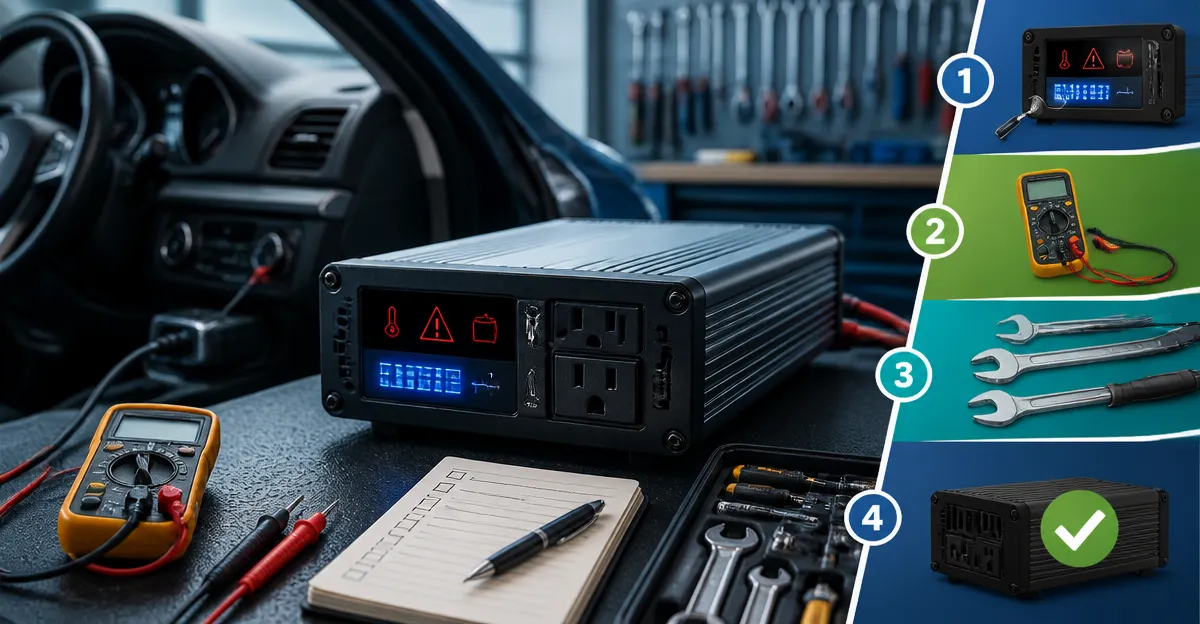
How to Troubleshoot Common Plug-and-Play Inverter Fault Codes: Step-by-Step Diagnosis and Fixes
Introduction
One will learn how to interpret fault codes displayed by plug-and-play inverters and how to resolve them efficiently. Understanding the diagnostic process reduces downtime for travelers, field technicians, and emergency responders. The guide presents a systematic approach that can be applied to a wide range of inverter models. By following the steps, one can restore reliable power without unnecessary service calls.
What You'll Need
- A multimeter capable of DC voltage and continuity testing.
- Electrical tape and heat‑shrink tubing for secure connections.
- A set of spare fuses matching the inverter specifications.
- One of the recommended inverters to use as a reference load, such as the BESTEK 300W Car Power Inverter.
- A portable USB‑C power bank for testing low‑power USB ports.
- A screwdriver set with insulated handles.
Step 1: Identify the Fault Code
The first action is to read the LED indicator or LCD panel on the inverter. Most modern units display a two‑character alphanumeric code such as E‑1 for low‑voltage protection or E‑3 for over‑temperature. One should record the exact code before proceeding, because the manufacturer's manual links each code to a specific condition. For example, the Cantonape 3000W Power Inverter uses codes E‑1 through E‑6 to indicate voltage and temperature faults. Consulting the manual at this stage prevents unnecessary disassembly.
Step 2: Verify the Power Source
After noting the code, one must ensure that the 12 V DC source supplies adequate voltage. Use a multimeter to measure the battery voltage while the vehicle engine is off and again with the engine running. A healthy automotive battery should read between 12.6 V and 13.2 V at idle, rising to 13.8 V to 14.4 V under charge. If the voltage falls below the inverter's minimum threshold, the fault is likely low‑voltage protection (E‑1). In such cases, charging the battery or connecting a secondary battery resolves the issue.
Step 3: Inspect Wiring and Connections
Loose or corroded connections can trigger over‑voltage or short‑circuit warnings. Disconnect the inverter from the cigarette‑lighter socket and examine the plug pins for dirt or oxidation. Clean the contacts with an electrical contact cleaner and re‑seat the plug firmly. If the inverter includes a detachable power cord, verify that the cord is not frayed and that the internal fuse is intact. Replacing a blown 40 A fuse, as supplied with the BESTEK 300W Car Power Inverter, restores normal operation.
Step 4: Test the Inverter with a Known Load
To isolate the inverter from external variables, connect a simple resistive load such as a 120 W incandescent lamp or a small portable fan. The Vansoet 400W Car Power Inverter provides a reliable reference load because it features a dedicated AC on/off switch and an intelligent cooling fan that activates only when needed. Connect the load to one AC outlet and observe whether the fault code disappears. If the inverter powers the load without error, the issue likely resides in the original device that was attached.
Step 5: Reset the Inverter
Many fault conditions clear after a power cycle. Turn the inverter off using its main switch, unplug it, and wait at least thirty seconds to allow internal capacitors to discharge. Reconnect the unit and power it on. If the fault code persists, proceed to the next diagnostic step. Some models, such as the Pro Chaser 400W Car Power Inverter, include a reset button that forces a firmware reboot; using this button can clear transient errors.
Step 6: Evaluate USB and DC Output Ports
Fault codes related to over‑current (E‑4) often arise from drawing excessive power from USB ports. Use a USB‑C power bank to simulate a low‑power device and verify that the 4.8 A USB ports on the BESTEK inverter charge without triggering an error. If the inverter shuts down when a high‑draw device is attached, consider using a dedicated USB‑C fast‑charging port such as the 30 W PD port on the Vansoet 400W Car Power Inverter, which isolates the high‑current draw from the AC circuitry.
Step 7: Check for Over‑Temperature Conditions
Continuous high loads can cause the internal temperature to exceed safe limits, resulting in an E‑3 over‑temperature code. Place the inverter in a well‑ventilated area and monitor the fan operation. The BESTEK 300W Car Power Inverter employs a smart cooling fan that accelerates when output exceeds 70 W, providing audible feedback. If the fan fails to engage, clean the vent openings and ensure that the aluminum housing is not obstructed. Replacing a faulty fan may require professional service.
Tips & Pro Tips
- Always use fuses that match the inverter's rated current; undersized fuses will blow frequently, while oversized fuses defeat protection.
- When testing multiple devices, stagger the connection sequence to avoid simultaneous inrush currents that can trip overload protection.
- For long trips, consider a higher‑capacity inverter such as the Cantonape 3000W Power Inverter. Its LCD display shows real‑time voltage and load, making fault diagnosis more straightforward.
- Keep a spare set of spare fuses and a compact multimeter in the vehicle; this reduces downtime during unexpected failures.
- Document each fault occurrence, including ambient temperature and load profile, to identify patterns over time.
Troubleshooting Common Problems
| Fault Code | Typical Cause | Solution |
|---|---|---|
| E‑1 | Low‑voltage input | Charge battery, check alternator, or use a secondary power source. |
| E‑2 | High‑voltage input | Verify that the vehicle's charging system is not over‑charging; disconnect auxiliary chargers. |
| E‑3 | Over‑temperature | Improve ventilation, clean fan, reduce load, or replace cooling fan. |
| E‑4 | Over‑current on USB or AC outlet | Reduce simultaneous load, use high‑current PD ports, replace blown fuse. |
| E‑5 | Short‑circuit detection | Inspect cables for damage, replace frayed wires, ensure proper polarity. |
| E‑6 | Repeated fault shutdown | Perform a full power reset, verify all connections, consider firmware update if available. |
Conclusion
One now possesses a clear methodology for diagnosing and correcting inverter fault codes. By systematically checking power input, connections, load conditions, and temperature, most issues can be resolved without professional service. Implementing the recommended tools, such as the BESTEK 300W Car Power Inverter for baseline testing or the Cantonape 3000W Power Inverter for advanced monitoring, enhances reliability on the road. Regular maintenance and documentation will further extend the lifespan of plug‑and‑play inverters.
Products Mentioned in This Guide
Frequently Asked Questions
What tools are required to diagnose plug-and-play inverter fault codes?
You need a DC-capable multimeter, insulated screwdriver, spare fuses, electrical tape or heat‑shrink, a reference inverter and a USB‑C power bank.
How do I identify the fault code on a plug-and-play inverter?
Locate the LED or LCD display on the inverter; the code appears as letters or numbers that correspond to specific errors.
What is the first step after reading a fault code?
Consult the inverter’s manual or fault‑code chart to determine the likely cause, then verify power input and connections before proceeding.
How can I reset a common over‑temperature fault?
Turn off the inverter, let it cool for several minutes, ensure ventilation is clear, then restart the unit to clear the code.
When should I replace a fuse versus checking wiring?
If the fault code indicates over‑current and the fuse is blown, replace it; otherwise, use a multimeter to test continuity and repair any wiring issues.